Business Intervals
A Business Interval, also called a “Business Calendar”, defines periods of time. These intervals are then applied during the scheduling of workflows in determining whether a workflow may (or may not) run. Unlike ordinary calendars, Business Intervals are not required to be oriented to calendar days and may even have millisecond resolution. Picture the calendar as a timeline running from left to right – Business Intervals define the ranges of time on this timeline that are either included or excluded. Included ranges of time define when workflows may run, and excluded ranges of time define the periods that the workflows may not run.
Business intervals can be used to define when processing is allowed to execute, and when it is not allowed to be executed. This is sometimes referred to as ‘including’ and ‘excluding’ intervals from processing.
The “timeline” concept of business intervals means that they do not need to be confined to 24-hour periods – a business interval can include or exclude any range in the timeline even if it crosses from one calendar day to the next.
Business Intervals can be applied to Timer Triggers and Delay Triggers to help them calculate their future firing times. Intervals can also be applied in some specialized situations (for example, to help calculate timeouts for actions or triggers, or to specify an allowable time window for a File Exist Trigger to monitor for files).
For a complete working example of a business interval that is used with a Timer Trigger, refer to the /examples/end_users/business_calendar directory under your Flux installation directory.
Creating Business Intervals in the Flux Operations Console
To create a new business interval, you will need to use scripting. An example of how to create a business interval using scripting can be found here: Example Workflows
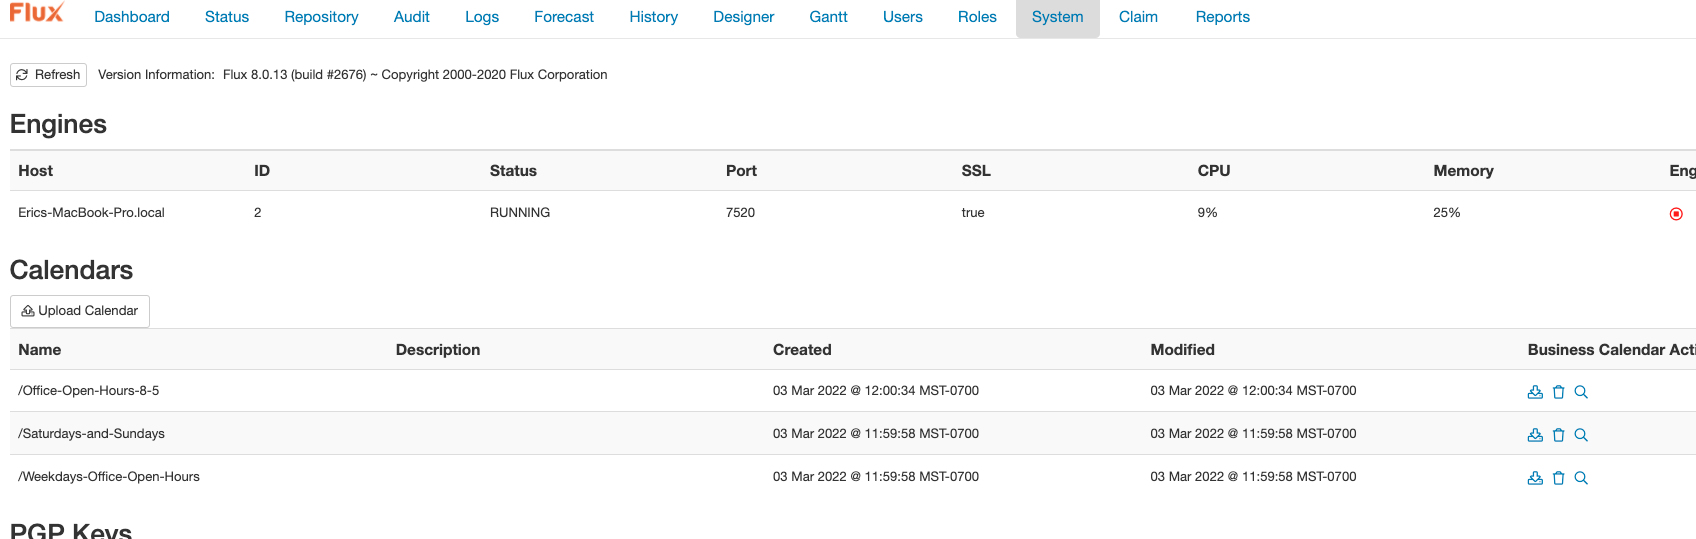
Once your business intervals have been created, you can see a list of them under the Calendars heading under the System tab.
Using Business Intervals with Timer Triggers (or other Time Expressions)
If you have a Timer Trigger (or any other time expression) where you would like to apply your business interval, you can find your intervals under the Business Interval Namespace dropdown inside the Timer Trigger settings.

If you wish to use your business interval as part of the time expression, you will need to include some special characters in your time expression. These characters are:
- b
- h
In a Cron-style time expression, the “b” character indicates all values for the given column that are included in the business interval, while the “h” character indicates all values that are excluded.
For example, the Cron-style expression 0 0 0 *b indicates “fire at the top of the hour for every hour value included in the interval”. If the business interval included the time from 08:00 to 17:00, then this time expression would cause the trigger to fire at 08:00, 09:00, and so on, until 17:00 (the last included value). Similarly, a Cron-style expression of 0 0 0 *h for the same interval would cause the trigger to fire at 18:00, 19:00, and so on until 07:00 (the last excluded hour).
In a relative time expression, the characters “b” and “h” refer to included and excludes days, respectively. In a relative time expression, a day is only considered “excluded” if the entire calendar day is excluded in the interval – this means that even if just one hour of the day is included, it will not be recognized as an excluded day when using the “h” character.
For example:
0 10b* * * * * * * * * (notice no plus sign (‘+’) before the 10) fires every 10 seconds past the hour, every hour while the seconds are in your business interval times (so start date and such are taken into account).
+b (8H)0m (0s)0S fires at 08:00 on every day that is included in the business interval. If the business interval includes Monday through Friday but excludes the weekends, then this relative time expression would fire Monday through Friday at 08:00 but ignore Saturday and Sunday. Similarly, the expression +b (8H)0m (0s)0S means “fire at 08:00 on every day that is excluded from the business interval”, so this relative time expression (for the same interval) would only fire on Saturday and Sunday.
For additional detail refer to Time Expressions.
You will also need to indicate which business interval the action or trigger should use. For a Timer Trigger, you’ll just need to set the “Business Interval” property to match the interval namespace you would like to use.
A real world business interval example from our Technical Support department
Question: How do I schedule a job to fire at 6 am from the 1st day of the month to the 6th-to-last day, then every 4 hours on the last 5 days of the month?
Answer: This schedule can be modeled by using a business interval with two Cron-style repeat time expression includes.
The first include, which will schedule the job to fire at 6 am from the 1st day of the month to the 6th-to-last day, will have a repeat time expression like this:
0 0 0 6 (1; $<5; *) * * * * * *
The “6” in the hour column indicates that this schedule will fire at 06:00, or 6 am. The “(1; $<5; *)” in the days-of-month column indicates that this schedule will start on the first day of the month, and fire as long as there are more than 5 days remaining in the month.
The second include, which will schedule the job to fire every 4 hours on the last 5 days of the month, will have a repeat time expression that looks like this:
0 0 0 */4 $<4,$<3,$<2,$<1,$ * * * * * *
The “*/4” in the hour column indicates that this schedule will fire every four hours. The “$<4,$<3,$<2,$<1,$” in the days-of-month specifies that the schedule should fire on the fourth-to-last day of the month, the third-to-last, and so on until the end of the month.
Both includes will also need a duration time expression. In this case, we will give the business interval a duration of 5 minutes, which will give the timer trigger enough of a window to ensure that it fires. Therefore the duration interval should be set to:
+5m
You can leave the “Start date” and “Stop date” fields empty.
Once the interval is created, you only need to set a time expression on your Timer Trigger that will fire at the top of every included hour. This time expression will look like this:
0 0 0 *b
That’s it! Your trigger is now configured to use the custom business interval.
Business Interval Performance
Due to the complexity and open-ended nature of some business intervals, they can be slow to load when exporting workflows that use business intervals for their scheduling.
If your business intervals are not performing to the desired level, try to design your time expressions to include only the particular time and date ranges that you require, and limit unnecessary field. Consider using ‘0’ rather than ‘*’ for fields like milliseconds, seconds, and minutes where your expression does not need to fire more than once, and limit date ranges where possible (a timer trigger with the “years” column set to “2012-2017”, for instance, will be processed more quickly than one with an open-ended date range).
This time expression design will help avoid some of the congestion that can occur when Flux needs to process a business interval over a very large date range on a trigger, and ensures that the engine can process your workflows much more quickly.