Scripting Example Workflow
This example will provide instructions for setting up and using Prescripts and Postscripts. Prescripts and Postscripts run code before or after an action or trigger executes. These scripts eliminate having to create small, lightweight Java Actions for simple tasks such as mapping variables to the flow context. These scripts also simplify your workflow, reducing the number of Runtime Data Maps required to be configured to simply map a variable to the flow context. These scripts can accomplish anything a Java Action can without having to worry about class paths.
This example will highlight the use of Postscripts and Prescripts as well as how much they can simplify a workflow. A null action is used for simplicity and a Postscript is added.
Viewing the Example Files
Your Flux installation includes a working, pre-constructed version of this example. To load the example file:
- Click the “Repository” tab.
- Click the “Import” button.

In the dialog that appears, browse to <Flux Home>/examples/end_users/scripting, and select the .ffc file located there.
When the workflow finishes uploading, select it to view the workflow in the Designer.
Navigating to the Designer
The Flux Designer will be used to create and execute the example workflow. To use the Designer, browse to the Operations Console and select the “Designer” tab.

Creating Actions
When you visit the Designer, you’ll see a blank workspace representing the new workflow. To create the example, we’ll start by populating the workflow with a few actions.
To add an action to the workflow, left-click the action and drag it onto the Designer workspace to add it to the workflow.

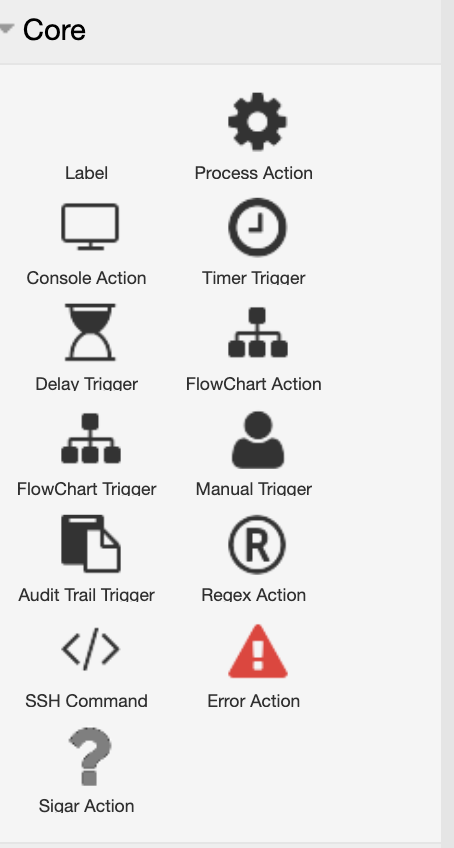
The following table contains the type, category, and quantity of each trigger and action we’ll use in this example.
| Action Type | Category | Quantity |
|---|---|---|
| Null Action | Core | 1 |
Editing Action Properties
Null Action
Now that the workflow is created, we want to add a postscript to the null action. This script will retrieve the action’s name from the flow context and then print it to the console.
To add the script, double-click the null action in the Designer. The postscript goes in the textbox under the “Postscript” heading. Copy and paste the code below into the textbox.
String name;
name = flowContext.getActionName();
print(name);
Once this is complete, click “SAVE” at the top of the Null Action window. This code uses a special method, print, that displays the specified argument in standard output.
Since this is a postscript, the code will run once the action is complete.
Running the Workflow
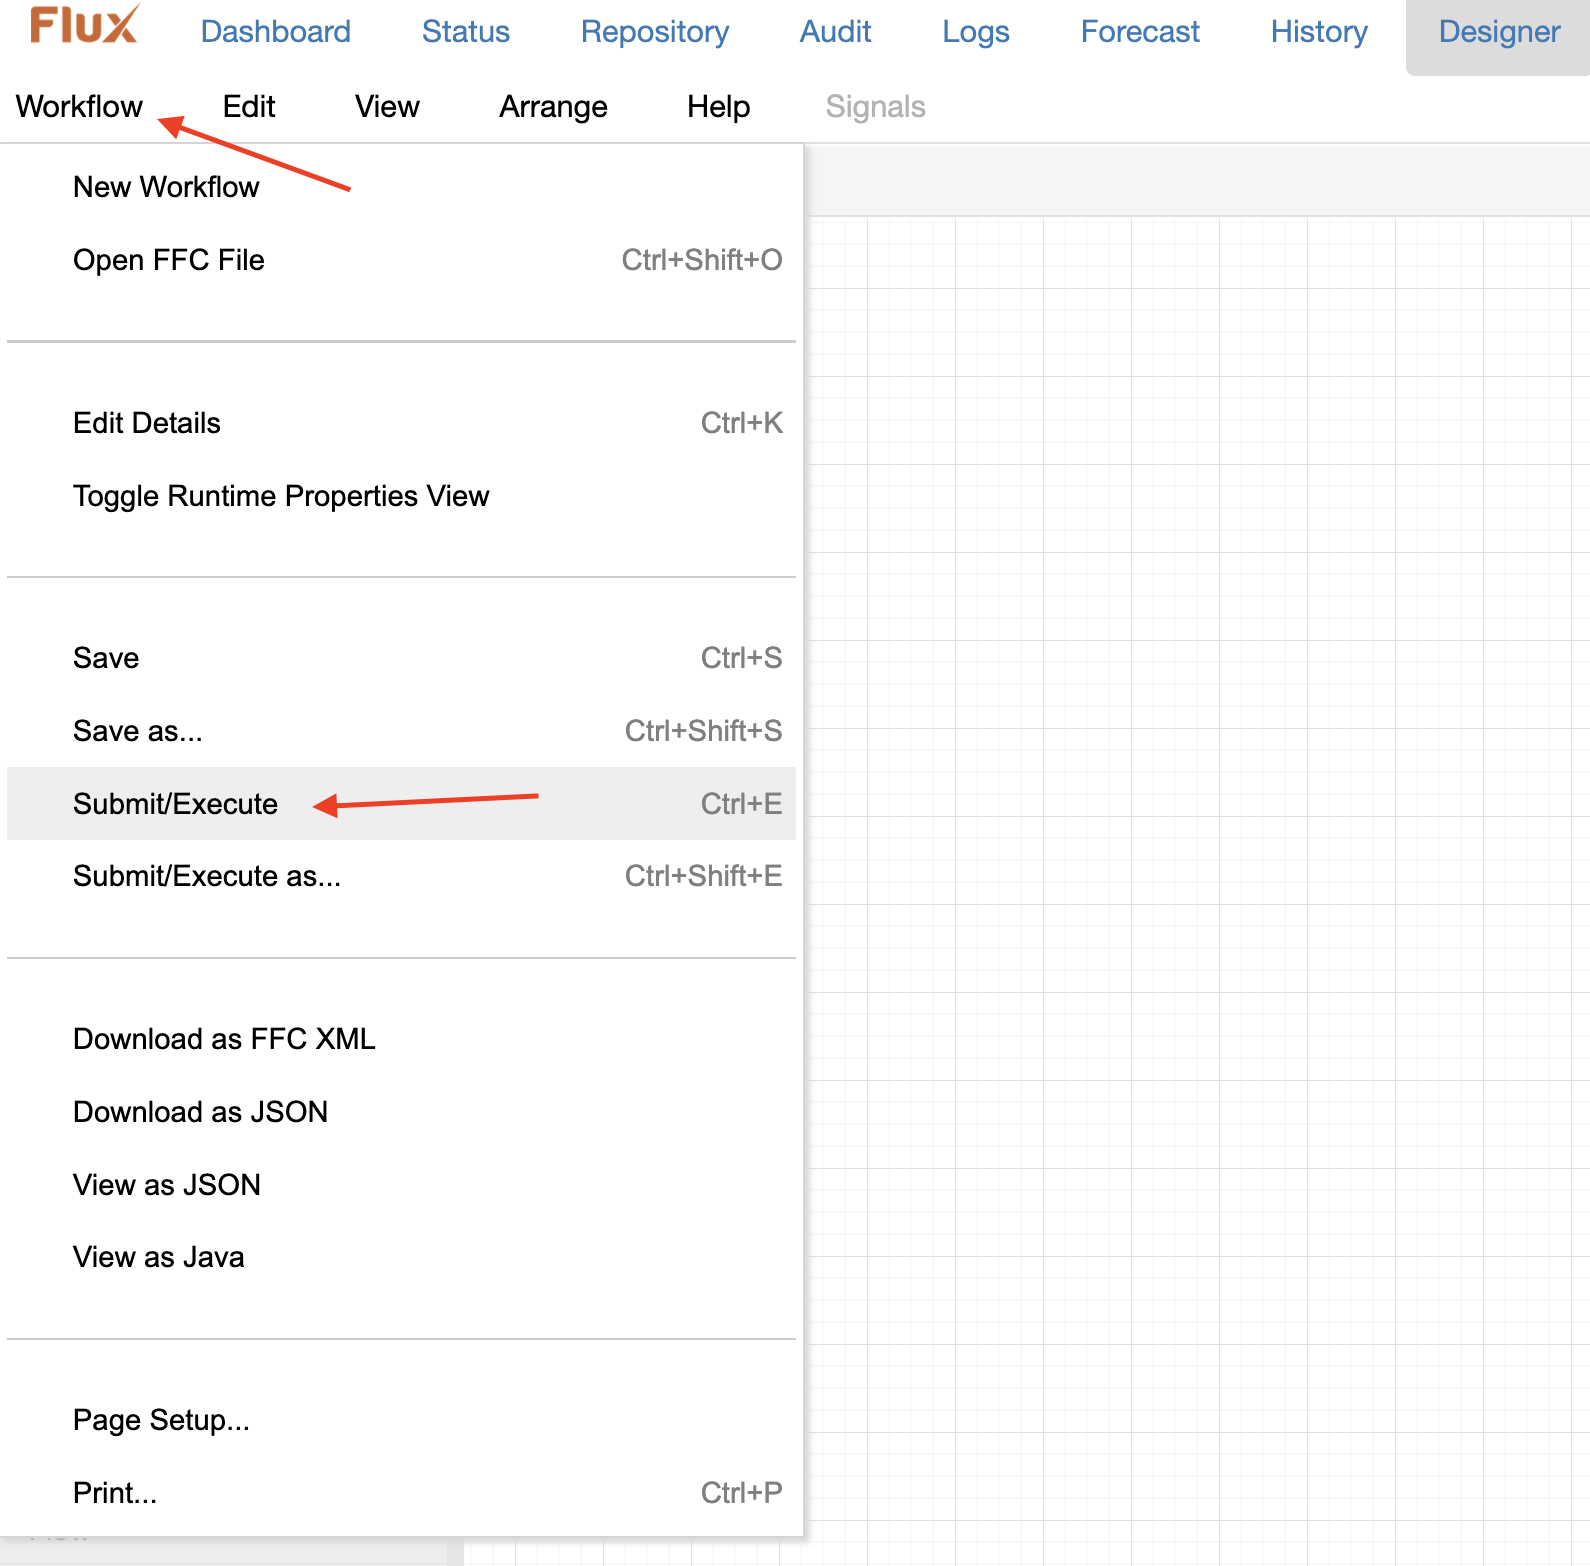
Hover over the “Workflow” tab near the top-left of your screen, then click on “Submit/Execute”. This will submit the workflow to the engine for execution.

If you view the standard output for your engine, you’ll now see the words “Null Action” displayed. As you can see, prescripts and postscripts provide an incredible amount of flexibility for your workflows. These scripts can simplify workflows or allow you to execute simple code without requiring a Java Action.