Using Timeout Example Workflow
Timeouts allow you to take special measures if an action or trigger takes too long to execute. These become extremely useful when you wish to run a Process Action only for a certain amount of time, or take a certain flow if an action takes to long to finish.
In this example, we’ll use a process action that runs a specific program. The program will time out after a given timeout setting, and Flux will then kill the process. The workflow will then follow a timeout flow and execute the designated timeout action.
This behavior is specific to process actions — other actions, like Java Action, must finish running before timing out, but will then follow a timeout flow if one exists.
Viewing the Example Files
Your Flux installation includes a working, pre-constructed version of this example. To load the example file:
- Click the “Repository” tab.
- Click the “Import” button.

In the dialog that appears, browse to <Flux Home>/examples/end_users/timeouts, and select the .ffc file located there.
When the workflow finishes uploading, click it to view the workflow in the Designer.
Navigating to the Designer
The Flux Designer will be used to create and execute the example workflow. To use the Designer, browse to the Operations Console and select the “Designer” tab.

Creating Actions
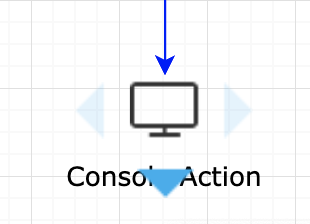
When you visit the Designer, you’ll see a blank workspace representing the new workflow. To create the example, we’ll start by populating the workflow with a few actions.
To add an action to the workflow, left-click the action and drag it onto the Designer workspace to add it to the workflow.
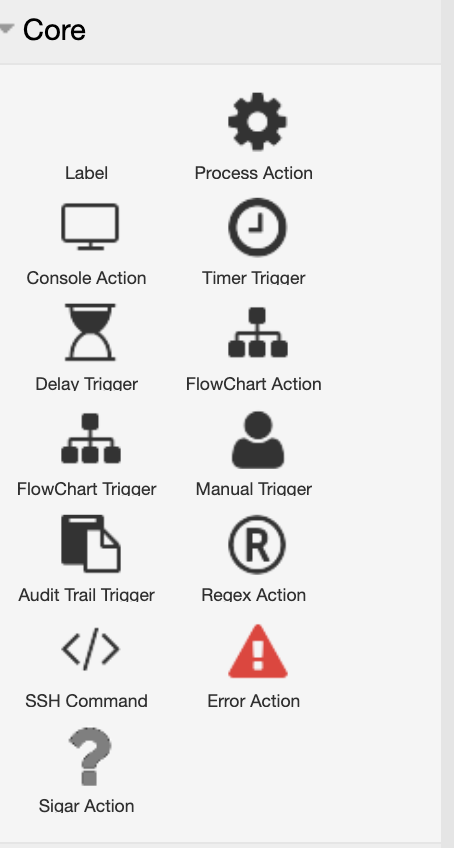
The following table contains the type, category, and quantity of each trigger and action we’ll use in this example.
| Action Type | Category | Quantity |
|---|---|---|
| Console Action | Core | 2 |
| Process Action | Core | 1 |
Setting up Flows
Using the image below as a guide, create flows between the actions. To create a flow:
-
Hover your mouse over the action you wish to draw the flow from and you’ll see four blue arrows appear
-
Click and hold the left mouse button on one of the blue arrows you wish to draw the flow from.
-
Drag your cursor to the action you wish to draw the flow to and release.
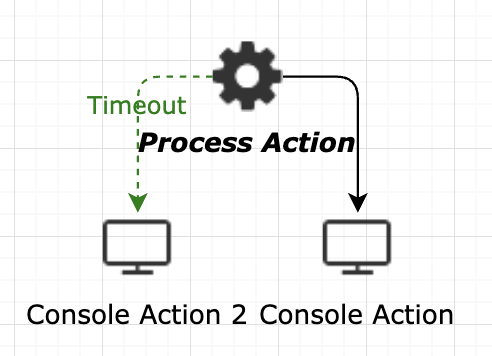
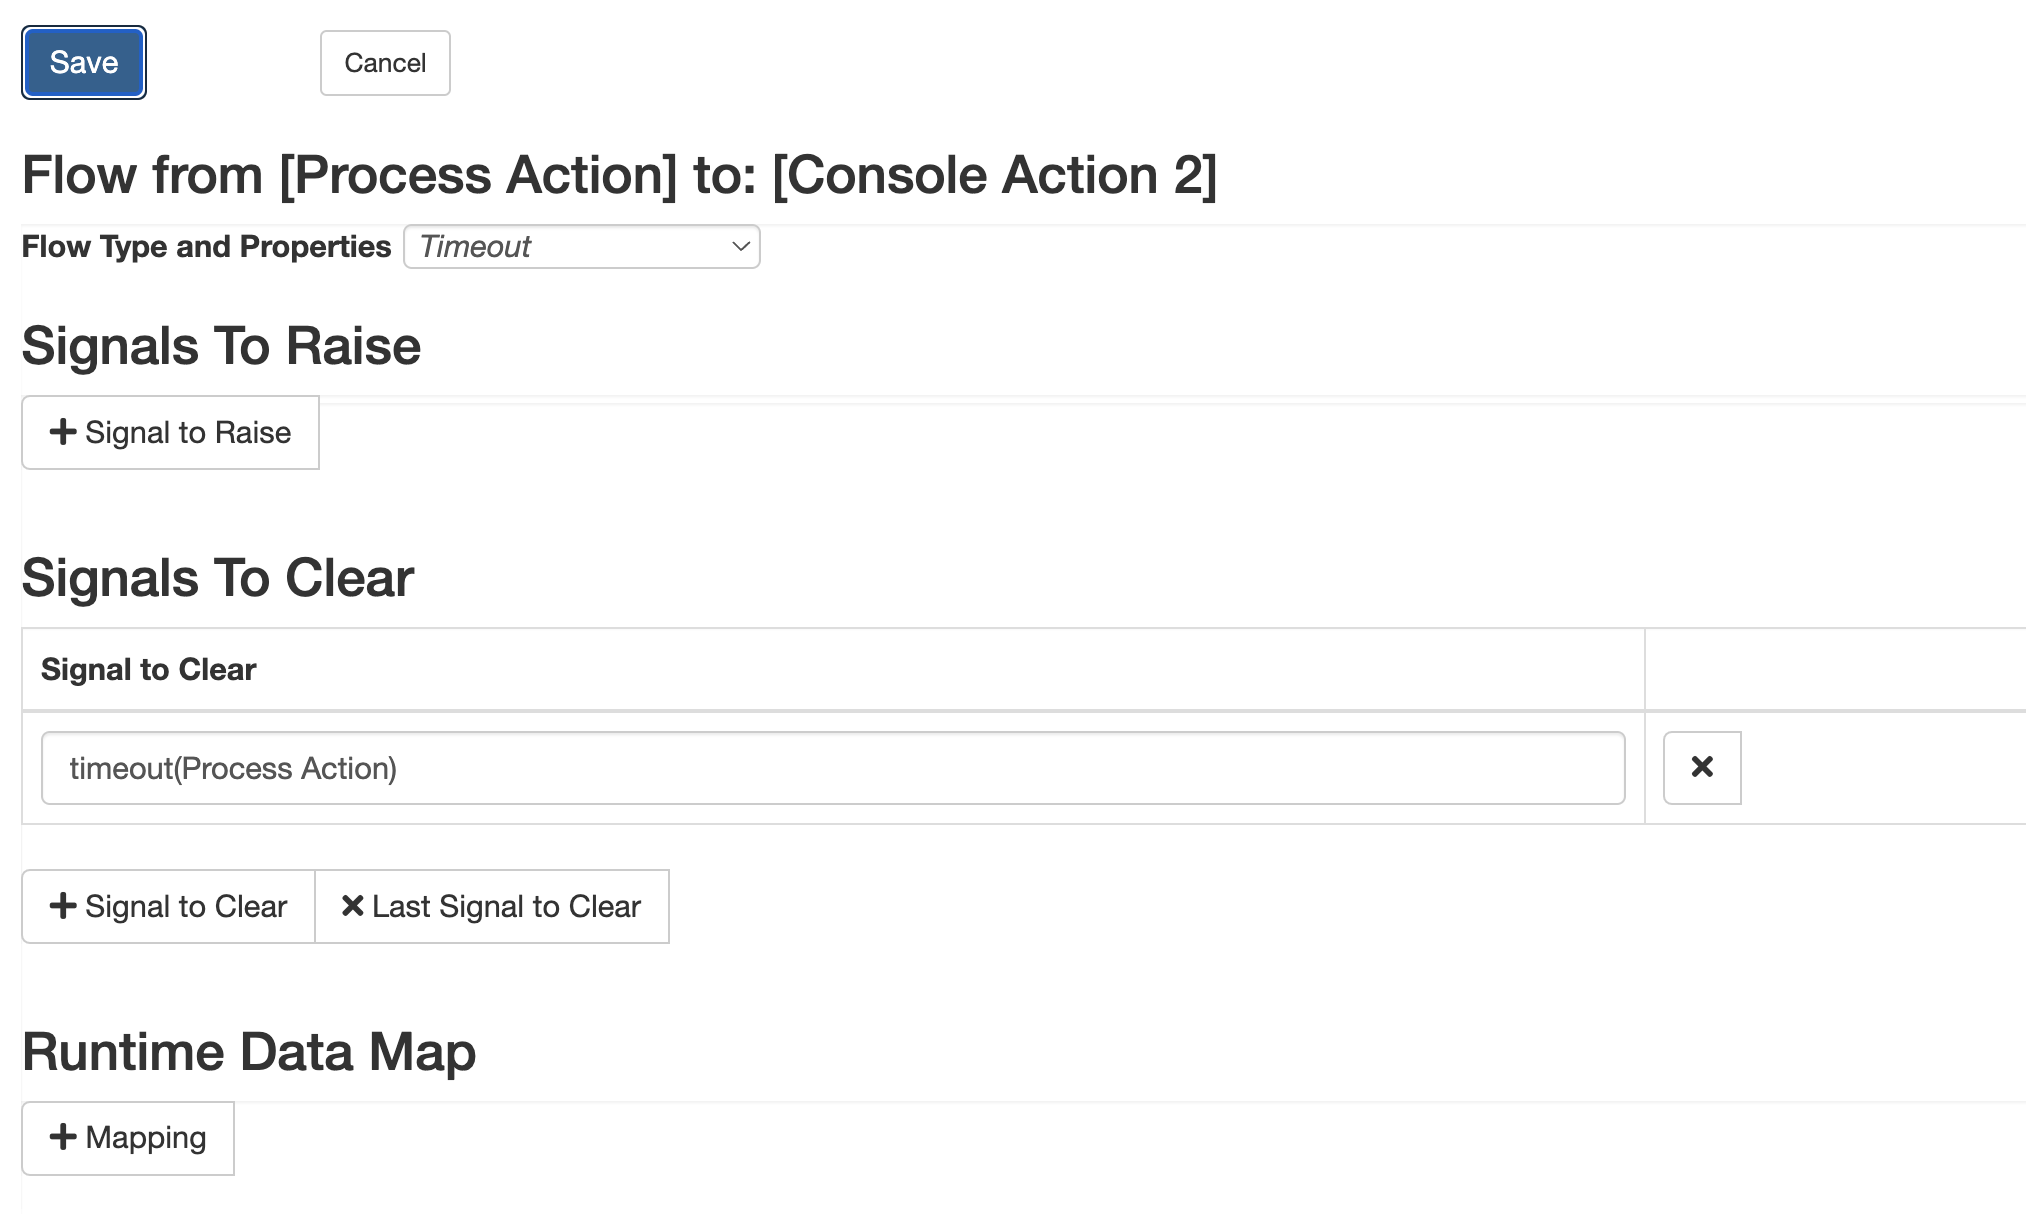
Double-click the flow from the process action to the second console action, change the type to Timeout. Under the “Signal To Clear” heading, click the “+Signal to Clear” button and type “timeout(Process Action)” in the text box. Use the image below as a guide.
Editing the Action Properties
Console Actions
Edit the first console action and set its “Message” property to read: “Regular work will be done here.”
Edit the second console action and set the message to: “Timed out work has started.”
Process Action
Now, we’ll edit the process action to launch a command. Edit the command to execute “notepad.exe”, which will open the program “Notepad” upon runtime (if notepad isn’t on your path, or isn’t available on your system, you can substitute any program that you have available.
Next, check the “Destroy on Timeout” box to ensure that the process is destroyed after a timeout.
Finally, set the timeout by editing the “Timeout Expression” property. Set the property to “+5s”. This will allow the process action to time out after running for 5 seconds.
Running the Workflow
Click the “Export to Engine” button in the Designer to launch the workflow.
When the workflow starts, you’ll see Notepad (or whichever application you’ve chosen) launch. After 5 seconds, Flux will kill the process, and you’ll see the “Timed out work has started.” message displayed to standard output.