Workflow Priority Example
This example demonstrates how you can use Flux’s workflow priorities to ensure that important workflows are always executed as soon as possible. Workflow priorities are used in conjunction with the CONCURRENCY_LEVEL configuration option to make sure that more important, or higher priority, workflows get executed before less important (low priority) workflows. If the concurrency level is full but there are still more workflow awaiting execution, each workflow’s priority will be checked to determine which workflow should run next.
Workflow priorities are useful when not all of your workflows can run at once (for example, if processing power is limited) and you need to ensure that certain workflows run before others. Since not all of your workflows can run at once, you will often to need to ensure that the most important tasks are completed first.
Viewing the Example Files
Your Flux installation includes a working, pre-constructed version of this example. To load the example file:
- Click the “Repository” tab.
- Click the “Import” button.

In the dialog that appears, browse to <Flux Home>/examples/end_users/job_priority, and upload each of the three .ffc files located there.
Navigating to the Designer
The Flux Designer will be used to create and execute the example workflows. To use the Designer, browse to the Operations Console and select the “Designer” tab.

Creating Actions
When you visit the Designer, you’ll see a blank workspace representing the new workflow. To create the example, we’ll start by populating the workflow with a few actions.
To add an action to the workflow, left-click the action and drag it onto the Designer workspace to add it to the workflow.
The following table contains the type, category, and quantity of each trigger and action we’ll use in this example.
| Action Type | Category | Quantity |
|---|---|---|
| Console Action | Core | 1 |
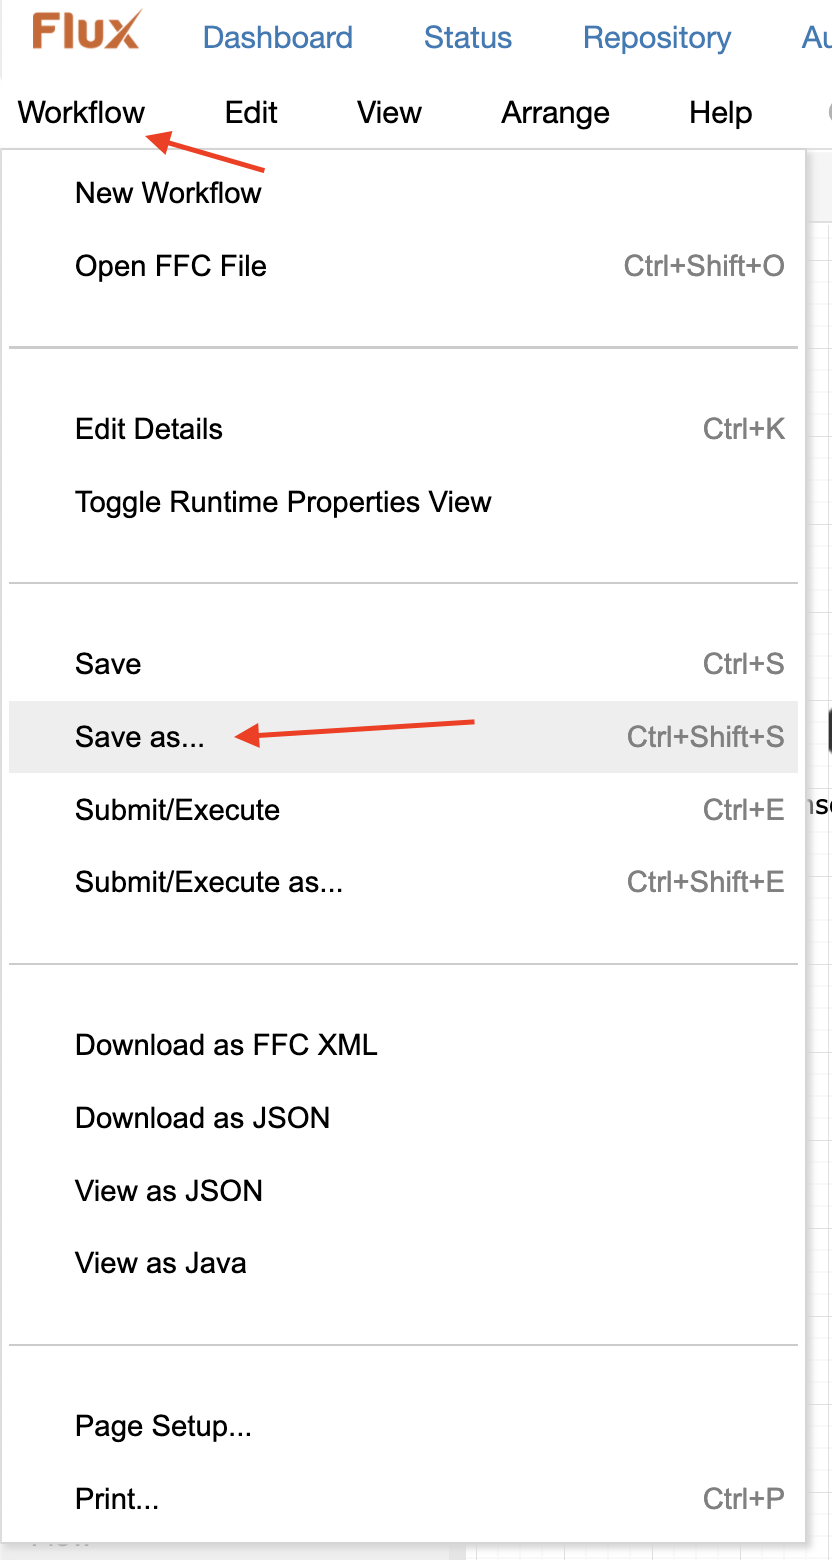
Once you’ve added your Console Action, hover over the “Workflow” tab near the top left, then click on “Save as…”. Name this workflow “/High Priority Job”.
Then repeat this process twice more, creating a “/Medium Priority Job” and “/Low Priority Job”.
Editing the Workflow Properties
Now that the workflows are created, we’ll want to set the priorities. Browse to the repository and click on the “/High Priority Job”, to bring the workflow back up in the Designer.
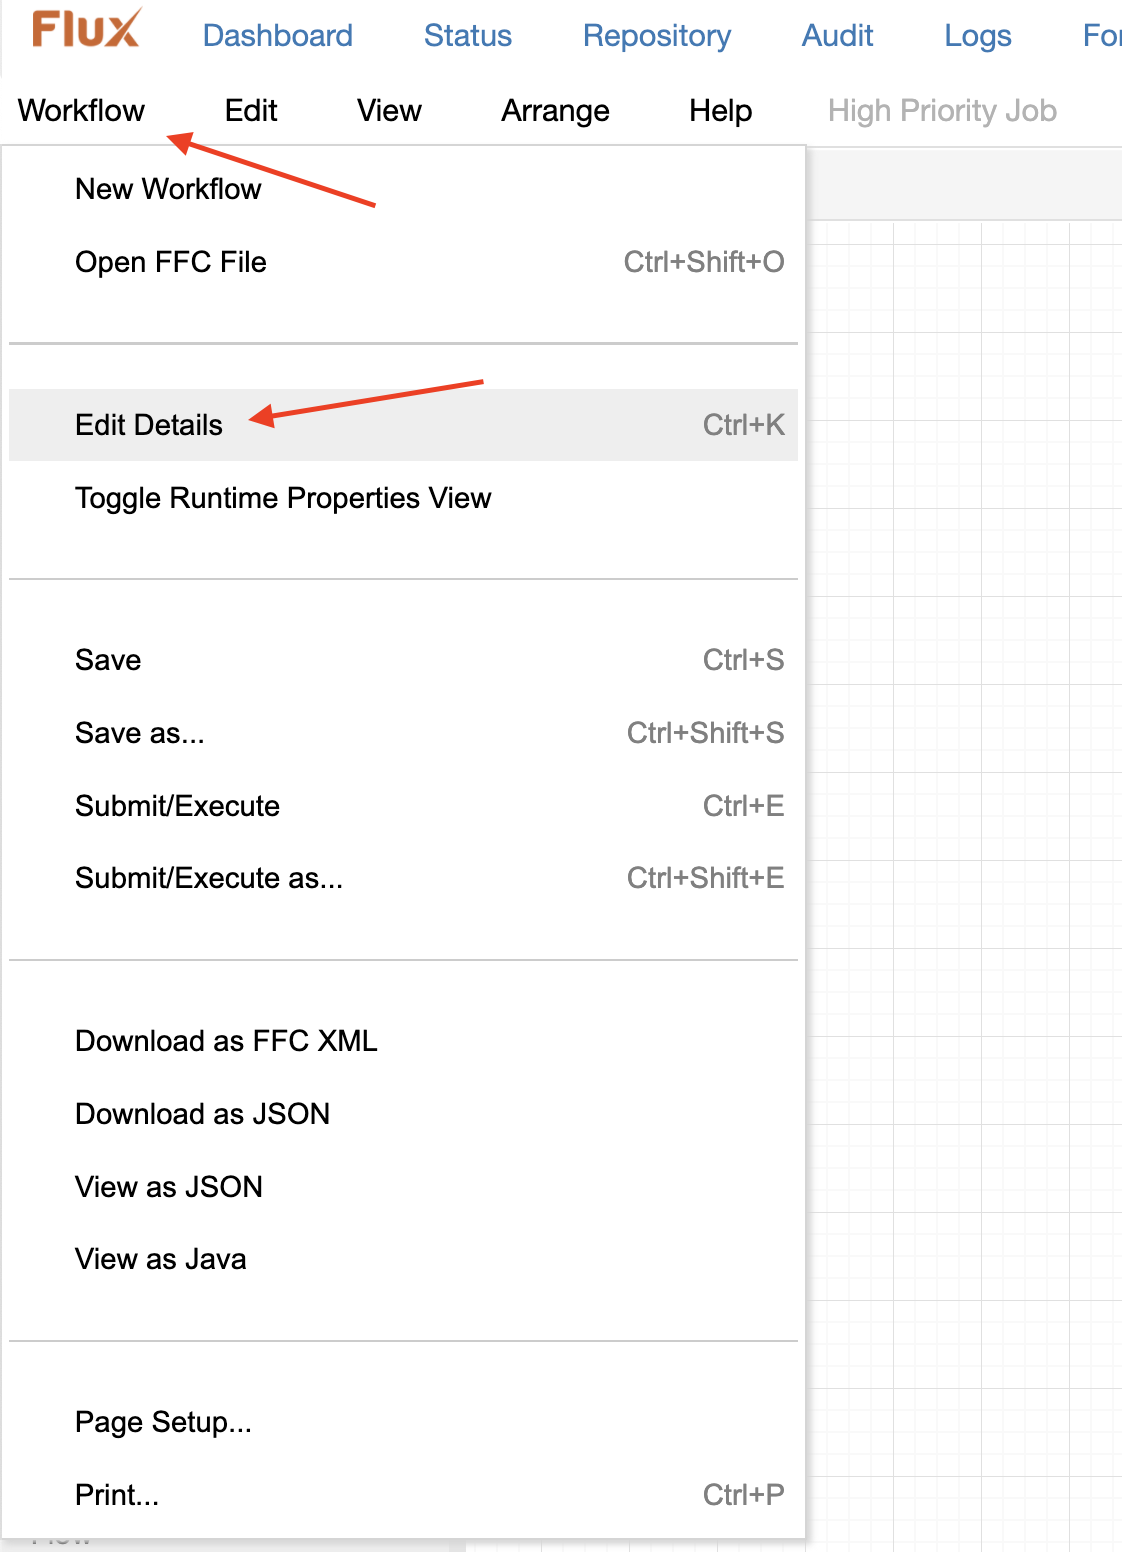
Once the workflow is loaded, hover your mouse over the “Workflow” tab near the top left of your screen and click “Edit details”:
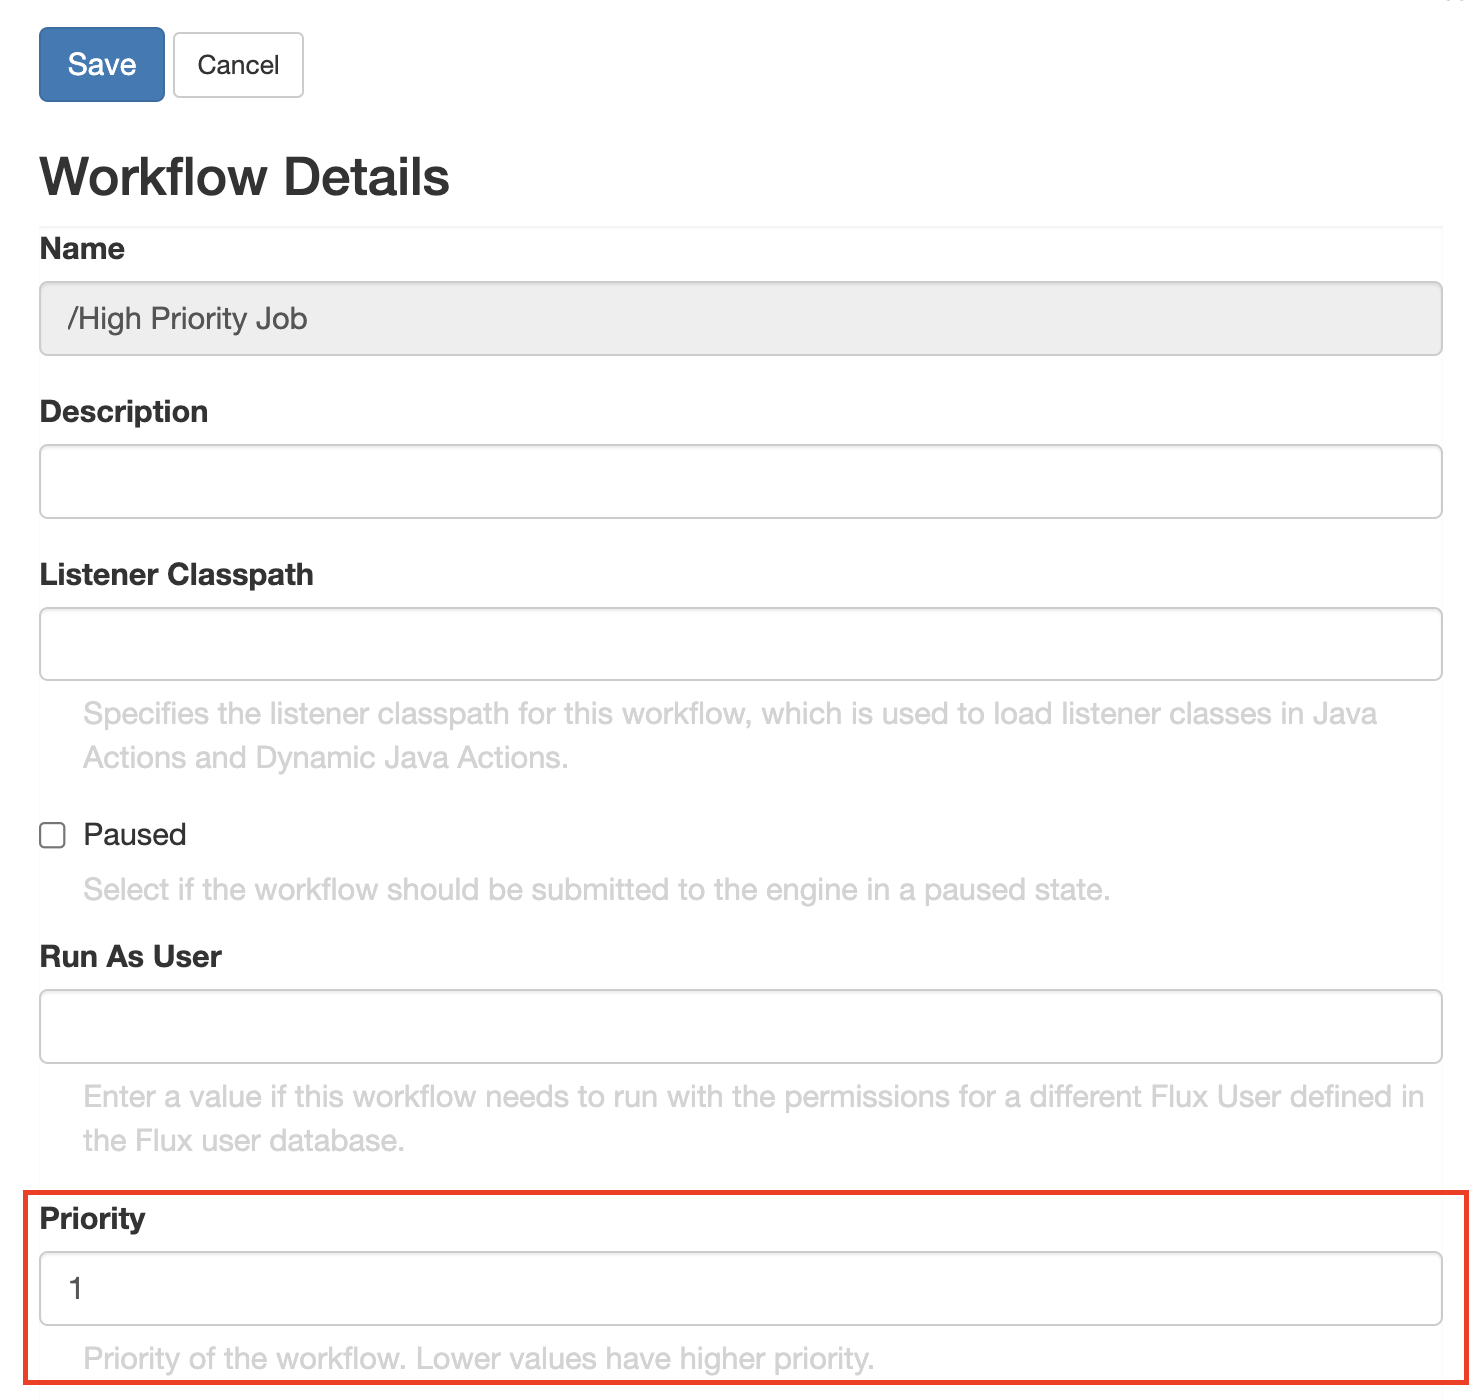
Scroll down to the “priority” heading and edit it to the number “1”, then click “Save”. Save the updated workflow to the repository, then repeat the process to set the priority to “2” for the medium priority workflow, and “3” for the low priority.
Editing the Action Properties
Now, we’ll want to head back to the Repository and edit our “/High Priority Job” again. This time, we’ll be setting up the descriptive message that the workflow will display.
Double-click the Console Action to open its action properties, find the “Message” field, and set the message to read:
"High Priority Job Has Fired."
Once again, save your changes, then repeat the process for the other two workflows, adding the respective messages “Medium Priority Job Has Fired.” and “Low Priority Job Has Fired.”
Running the Example
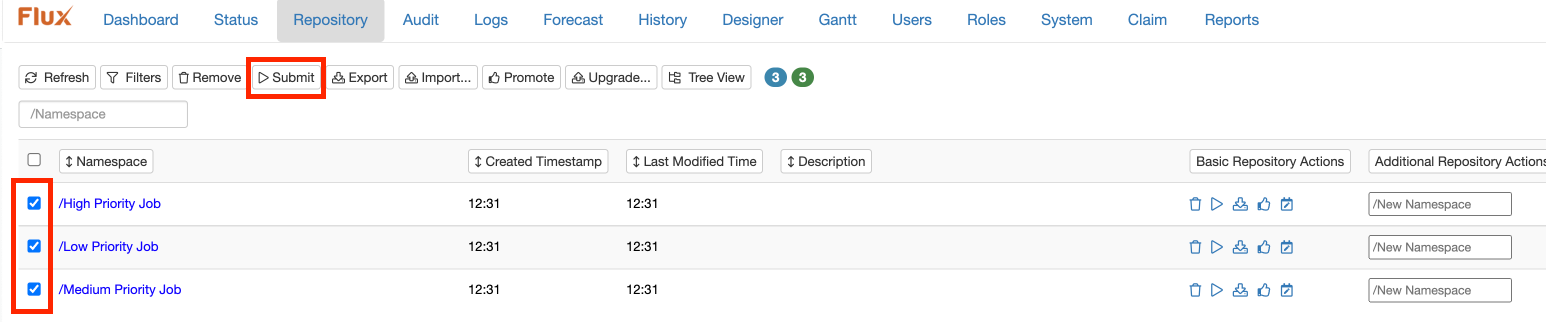
Once you’re finished editing, head back to the Repository, select each of the three workflows, and click “Submit” to begin running the flows.
Browse to the standard output for your engine (typically, the console where the engine is running, or the service log file when running as a service). The output will look something like this — notice the order in which the messages are displayed:
High priority job has fired.

Medium priority job has fired.

Low priority job has fired.
That’s it! You’ve now successfully prioritized workflows using Flux.